First Project
This guide walks you through creating a basic Qt GUI application that integrates QCefView. The complete source code for this example is available in the QCefViewTest directory.
Initializing the QCefContext Instance
The first step in using QCefView is to initialize a QCefContext instance. Think of this as the QCefView equivalent of QApplication: you should have only one instance of QCefContext throughout your application's lifecycle.
#include <QApplication>
#include <QCefContext.h>
#include "MainWindow.h"

int
main(int argc, char* argv[])
{
  // 1. Create a QApplication instance
  QApplication a(argc, argv);

  // 2. Build a QCefConfig object
  QCefConfig config;
  // Set user agent
  config.setUserAgent("QCefViewTest");
  // Set log level
  config.setLogLevel(QCefConfig::LOGSEVERITY_DEFAULT);
  // Set JSBridge object name (default value is QCefViewClient)
  config.setBridgeObjectName("CallBridge");
  // Port for remote debugging (default is 0, disabling remote debugging)
  config.setRemoteDebuggingPort(9000);
  // Set background color for all browsers
  // (QCefSetting.setBackgroundColor will overwrite this value for a specific browser instance)
  config.setBackgroundColor(Qt::lightGray);

  // WindowlessRenderingEnabled is true by default, disable OSR mode by setting it to false
  config.setWindowlessRenderingEnabled(true);

  // Add command line arguments (any CEF-supported switches or parameters)
  config.addCommandLineSwitch("use-mock-keychain");
  // config.addCommandLineSwitch("disable-spell-checking");
  // config.addCommandLineSwitch("disable-site-isolation-trials");
  // config.addCommandLineSwitch("enable-aggressive-domstorage-flushing");
  config.addCommandLineSwitchWithValue("renderer-process-limit", "1");
  // config.addCommandLineSwitchWithValue("disable-features", "BlinkGenPropertyTrees,TranslateUI,site-per-process");

  // 3. Create the QCefContext instance, passing the QApplication instance and config
  // The lifecycle of cefContext must match the QApplication instance's lifecycle
  QCefContext cefContext(&a, argc, argv, &config);

  // 4. Create and show your application window
  MainWindow w;
  w.show();

  // 5. Run the application
  return a.exec();
}
Create QCefView Instance
Once you have initialized QCefContext, you can create a QCefView instance.
  // Build settings for per QCefView
  QCefSetting setting;
  // Here we just set the default background to blue
  setting.setBackgroundColor(QColor::fromRgb(0, 0, 255));

  // Create the QCefView widget and add it to the layout container
  cefViewWidget = new QCefView(uri, &setting, this);
  ui.cefContainer->layout()->addWidget(cefViewWidget);
  layout->addWidget(ui.cefContainer);
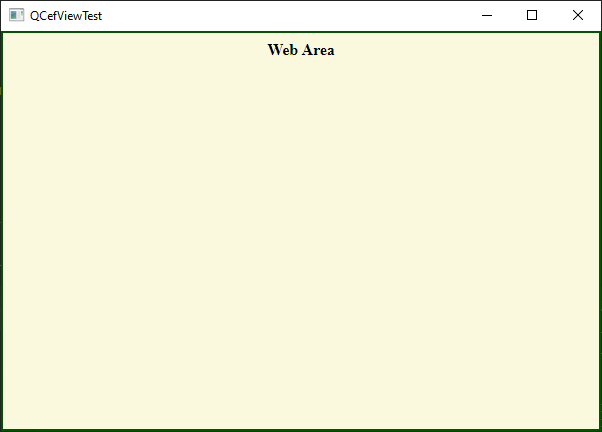
Create a Simple Web Page
Create a simple web page with the following content:
<html>
  <head>
  </head>
  <body id="main" class="noselect">
    <h1 align="center" style="font-size: 12pt">Web Area</h1>
  </body>
</html>
Run the Application
Now let's run the application.