第一个项目
本指南将引导您创建一个集成了 QCefView 的基本 Qt GUI 应用程序。此示例的完整源代码可在 QCefViewTest 目录中找到。
初始化 QCefContext 实例
使用 QCefView 的第一步是初始化一个 QCefContext 实例。可以将其视为 QCefView 相当于 QApplication 的存在:在您的应用程序的整个生命周期中,应该只有一个 QCefContext 实例。
#include <QApplication>
#include <QCefContext.h>
#include "MainWindow.h"

int
main(int argc, char* argv[])
{
  // 1. 创建一个 QApplication 实例
  QApplication a(argc, argv);

  // 2. 构建一个 QCefConfig 对象
  QCefConfig config;
  // 设置用户代理
  config.setUserAgent("QCefViewTest");
  // 设置日志级别
  config.setLogLevel(QCefConfig::LOGSEVERITY_DEFAULT);
  // 设置 JSBridge 对象名称 (默认值为 QCefViewClient)
  config.setBridgeObjectName("CallBridge");
  // 远程调试端口 (默认为 0, 禁用远程调试)
  config.setRemoteDebuggingPort(9000);
  // 为所有浏览器设置背景颜色
  // (QCefSetting.setBackgroundColor 将覆盖特定浏览器实例的此值)
  config.setBackgroundColor(Qt::lightGray);

  // WindowlessRenderingEnabled 默认为 true,通过将其设置为 false 来禁用 OSR 模式
  config.setWindowlessRenderingEnabled(true);

  // 添加命令行参数 (任何 CEF 支持的开关或参数)
  config.addCommandLineSwitch("use-mock-keychain");
  // config.addCommandLineSwitch("disable-spell-checking");
  // config.addCommandLineSwitch("disable-site-isolation-trials");
  // config.addCommandLineSwitch("enable-aggressive-domstorage-flushing");
  config.addCommandLineSwitchWithValue("renderer-process-limit", "1");
  // config.addCommandLineSwitchWithValue("disable-features", "BlinkGenPropertyTrees,TranslateUI,site-per-process");

  // 3. 创建 QCefContext 实例,传递 QApplication 实例和 config
  // cefContext 的生命周期必须与 QApplication 实例的生命周期匹配
  QCefContext cefContext(&a, argc, argv, &config);

  // 4. 创建并显示您的应用程序窗口
  MainWindow w;
  w.show();

  // 5. 运行应用程序
  return a.exec();
}
创建 QCefView 实例
一旦您初始化了 QCefContext,您就可以创建一个 QCefView 实例。
  // 构建每个 QCefView 的设置
  QCefSetting setting;
  // 这里我们只是将默认背景设置为蓝色
  setting.setBackgroundColor(QColor::fromRgb(0, 0, 255));

  // 创建 QCefView 控件并将其添加到布局容器中
  cefViewWidget = new QCefView(uri, &setting, this);
  ui.cefContainer->layout()->addWidget(cefViewWidget);
  layout->addWidget(ui.cefContainer);
创建一个简单的网页
创建一个包含以下内容的简单网页:
<html>
  <head>
  </head>
  <body id="main" class="noselect">
    <h1 align="center" style="font-size: 12pt">Web 区域</h1>
  </body>
</html>
运行应用程序
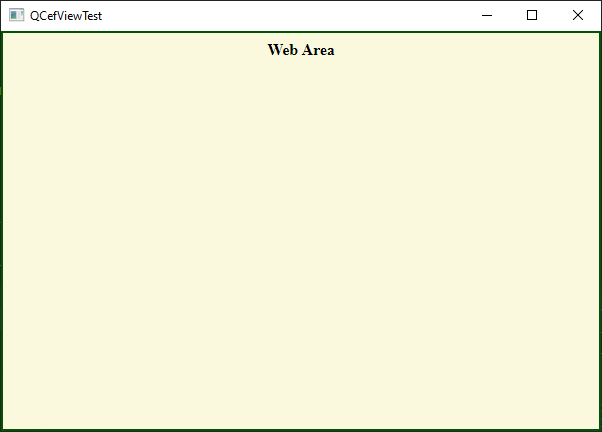
现在让我们运行应用程序。
